Getting Started with Flutter on Linux for Android [Beginner Tutorial]
Flutter is a cross platform and performant native mobile app framework by Google and can target Android and iOS at the moment. The language that comes with it is Dart, which originally made it into Chrome Canary as a possible JavaScript replacement or alternative.
In this post we're going to have a look at how to set up a development environment for Flutter and Android. At the end of this post, you'll have a working development environment on Ubuntu, Linux Mint or similar, including your first Flutter app running in an emulator and device.
Installing Flutter and Android Studio
The Flutter Linux Installation Docs are the starting point and take you through downloading the appropriate file:
# adapted
cd ~/Downloads
wget https://storage.googleapis.com/flutter_infra/releases/stable/linux/flutter_linux_v1.0.0-stable.tar.xz
tar xf ~/Downloads/flutter_linux_v1.0.0-stable.tar.xz
Now you can add the flutter binaries to your PATH, either by running this in your terminal:
export PATH="$PATH:/home/$USER/Downloads/flutter/bin"
or by adding it to the configuration file of your shell permanently. Depending on which shell you use, these will typically be:
~/.bashrcfor bash~/.zshrcfor zsh
Open the respective file and add around the bottom.
export PATH="$PATH:/home/$USER/Downloads/flutter/bin"
You can reload your config by running:
source ~/.zshrcsource ~/.bashrc
or restart your terminal.
You can verify your flutter installation with flutter doctor, the output should be something like:
Doctor summary (to see all details, run flutter doctor -v):
[✓] Flutter (Channel stable, v1.0.0, on Linux, locale en_US.UTF-8)
[✗] Android toolchain - develop for Android devices
    ✗ ANDROID_HOME = /home/jonathan/Android/Sdk
      but Android SDK not found at this location.
[!] Android Studio (not installed)
[!] Connected device
    ! No devices available

! Doctor found issues in 3 categories.
Installing Android Studio and Flutter Plugins
First, we'll need to download Android Studio and unpack this into our Downloads or home folder. I have placed my unpacked version in /home/jonathan/android-studio. To start it I can run:
cd /home/jonathan/android-studio/bin
./studio.sh

This will open the IntelliJ based IDE for Android Studio and start off with a splash screen. After the IDE has started, just create a new Android project, because we want to head into the Tools menu and open the SDK Manager.
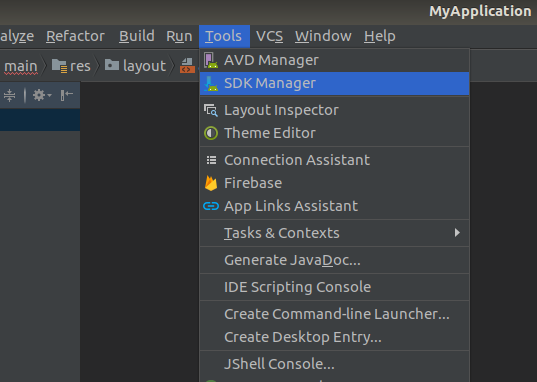
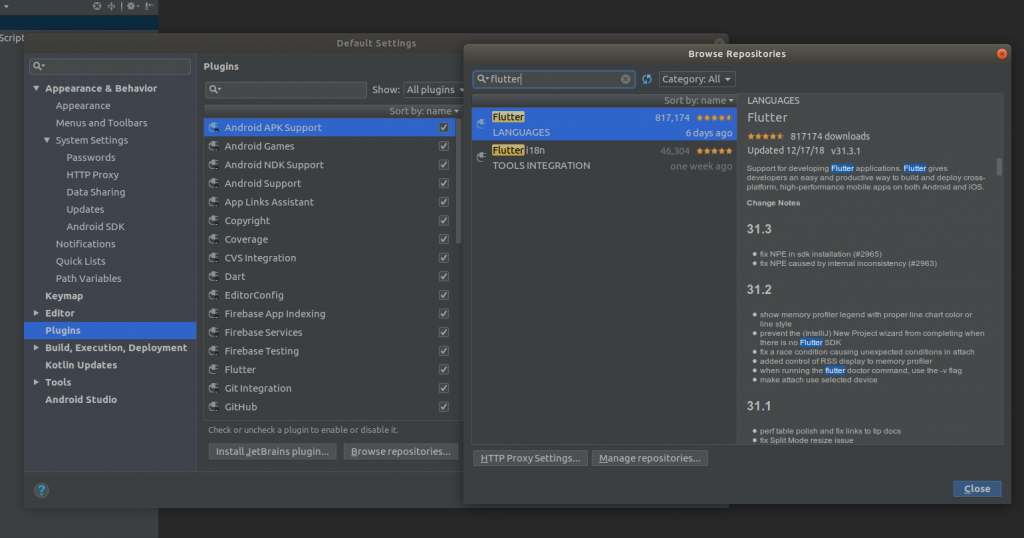
Inside the SDK Manager we want to navigate to the Plugins menu and press the Browse Repositories... In the following dialogue you can now search for Flutter and hit install, which should prompt you to install the Dart plugin as well.
Adding the Android Studio Home to your PATH
Now that we have the Android Studio installed, it should have created a directory in our home folder called Android, to add the tools and platform-tools that come with it, we need to add something like the following to our .zshrc or .bashrc. Remember to change the paths if you're not called Jonathan ;)
export ANDROID_HOME="/home/jonathan/Android/Sdk"
export PATH="/home/jonathan/scripts:/home/jonathan/projects/go/bin:/home/jonathan/Downloads/flutter/bin:$ANDROID_HOME/tools:$ANDROID_HOME/platform-tools:$PATH"
Remember to reload your shell config with source ~/[config name here].
Now to verify that we have installed the Android SDK correctly, let's run flutter doctor again:
Doctor summary (to see all details, run flutter doctor -v):
[✓] Flutter (Channel stable, v1.0.0, on Linux, locale en_US.UTF-8)
[✓] Android toolchain - develop for Android devices (Android SDK 28.0.3)
[✓] Android Studio (version 3.2)
[!] Connected device
    ! No devices available

! Doctor found issues in 1 category.
After installing the Android SDK, you'll have to agree to some license agreements via the CLI. Now we still have No devices available, let's fix that with an Android Emulator.
Adding an Android Emulator
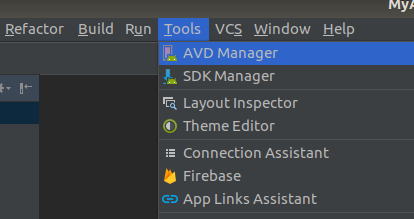
In Android Studio, head to Tools and then AVD Manager (Android Virtual Devices) and add a new emulator. This should be straight forward.
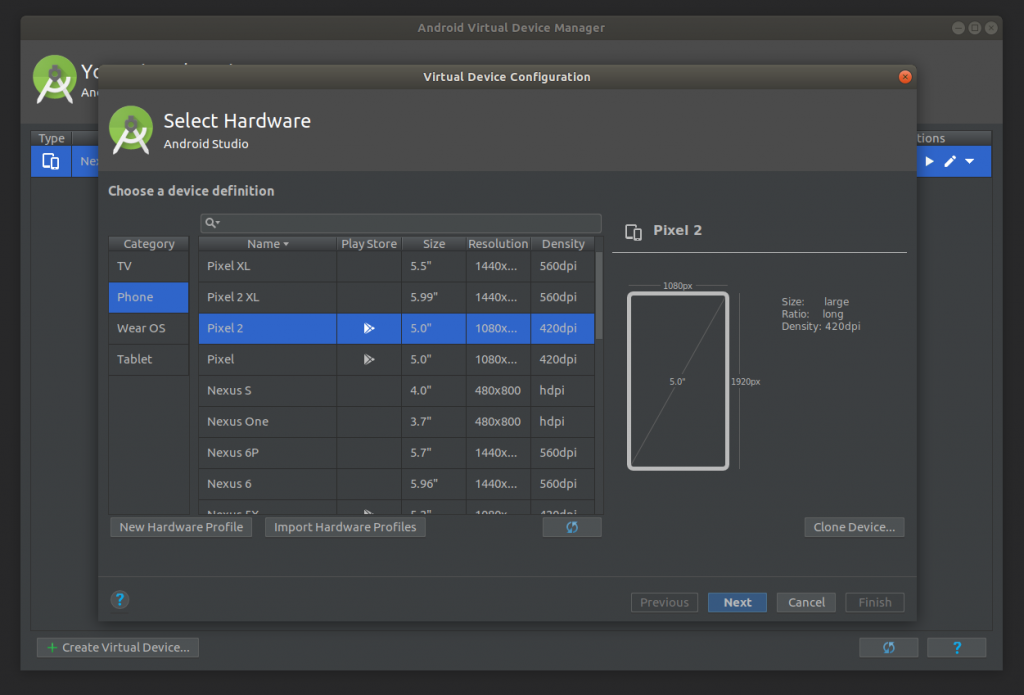
After you have gone through this process and started your emulator, you should no longer receive the warning that no devices are present by flutter doctor.
Troubleshooting the AVD
If you can't add an AVD due to errors regarding /dev/kvm permission denied on Linux, you can try to install some additional dependencies and adding your user to the kvm group:
sudo apt install qemu-kvm libvirt-clients libvirt-daemon-system bridge-utils virt-manager
sudo adduser $USER kvm
NOTE: after running the adduser command you should restart your machine.
If you're still facing trouble, there may be a BIOS setting which is not set correctly, for the most common BIOS versions you can see how to change it here: 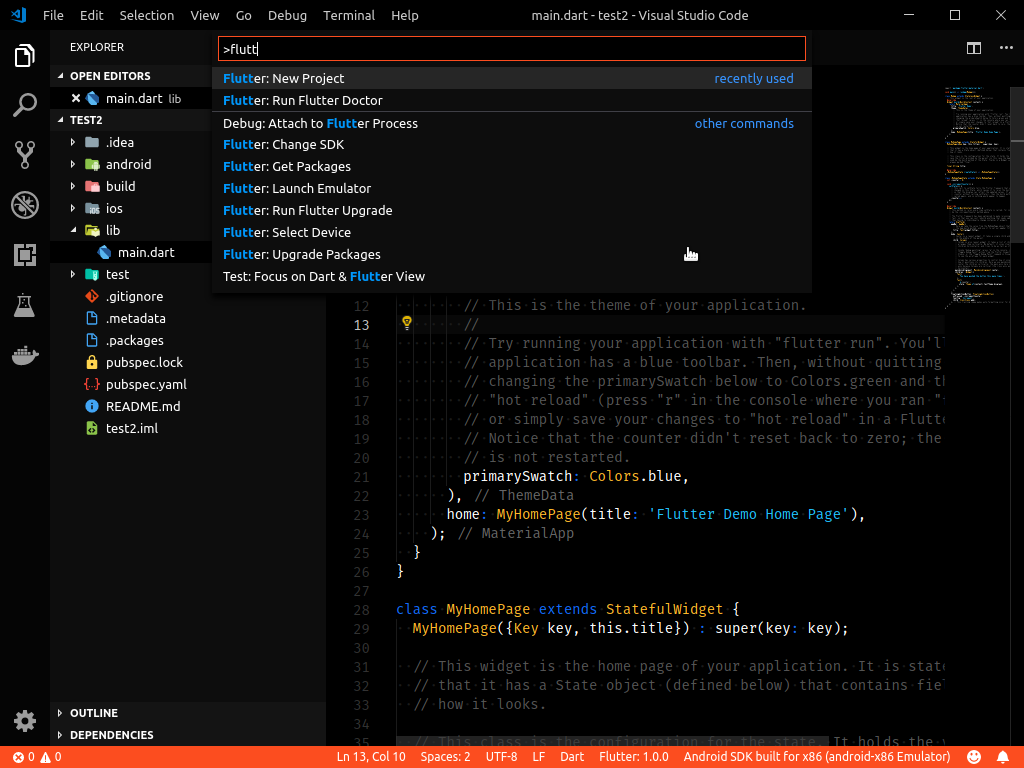
For GIGABYTE mainboards this setting is slightly hidden within Advanced CPU Core Settings and called SVM mode which needs to be enabled.
Enabling your Android Phone for Development
To set your phone up for app development, you'll need to enable some developer settings, like explained by the Google Android Docs.
After this, if your phone is the target device for flutter and attached to your computer, it will automatically install the app and launch it when you use flutter run.
Creating your first Flutter App
For the next step you can either use Visual Studio Code or the Android Studio, as you wish. I'll use vscode in the example:
- I create a directory where my flutter projects will live with
cd ~/projects && mkdir flutter && cd flutter - I create a new flutter project with
flutter create test1 - I follow the instructions and run
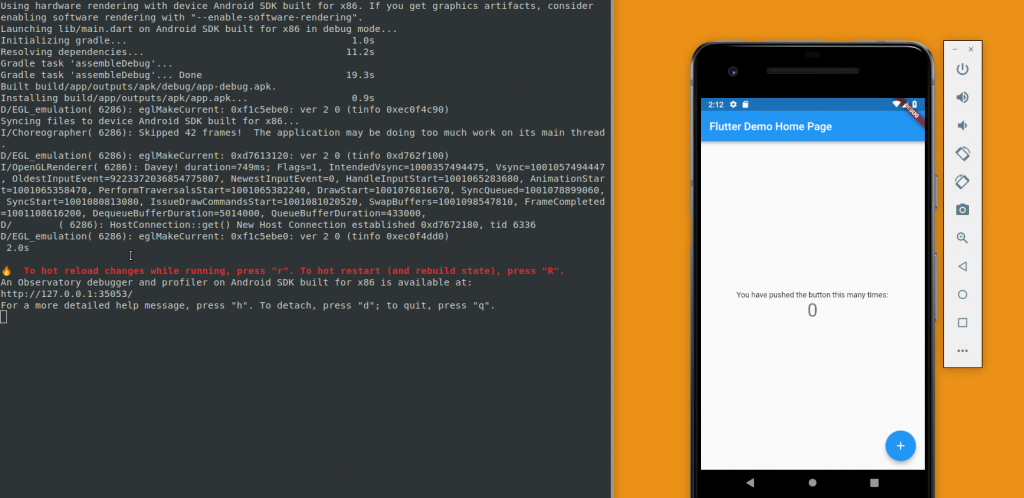
cd test 1andflutter run - The app should now appear in your AVD
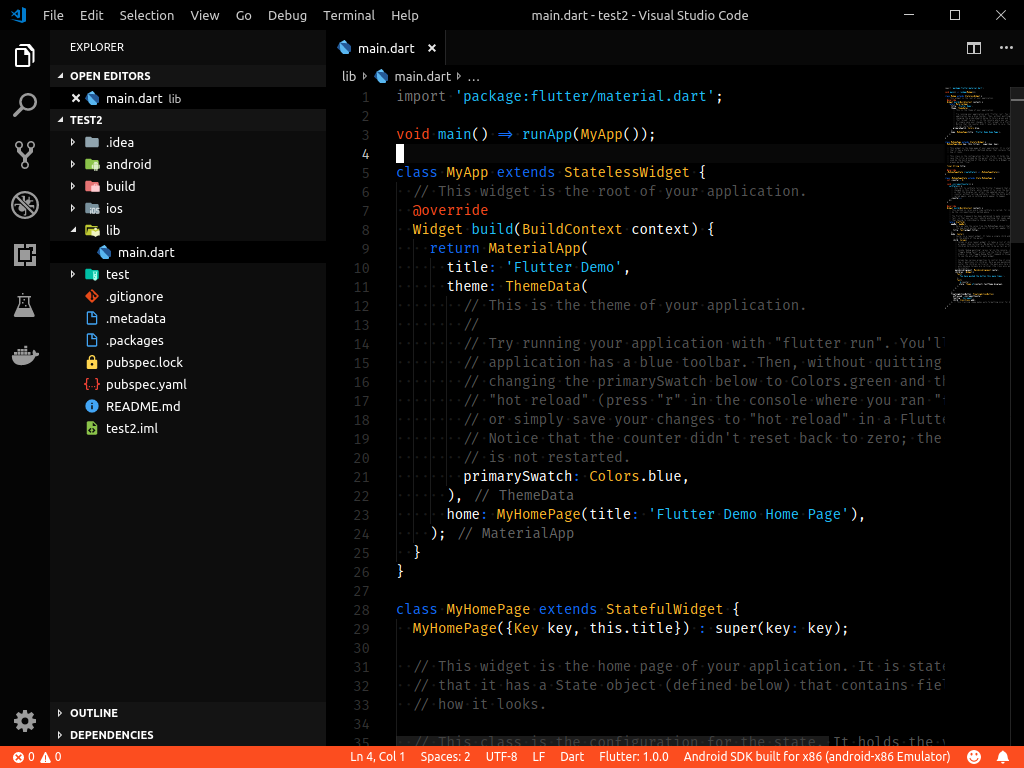
To open your project with Visual Studio Code, change to your project directory with cd ~/projects/flutter/test1 && code .
Now you will be able to edit the flutter app and change the text labels or counter behaviour (try adding 3 at a time!).
If you want to integrate VSCode more closely with Flutter, make sure to install the Dart and Flutter plugins, which will enable you to create new projects or run your app from within Visual Studio Code.
That's it! You're now up and running with Flutter development for Android! Happy coding and remember to share your first app results!
PS: Thanks to some sub-reddits and Thomas for the review!