Handlebars Custom Helpers and Chaining
Handlebars is a popular templating engine for JavaScript and in this post we'll have a look at how to write a custom helper. On top of that, we'll also look at pre-compiling a part of the template and returning the compiled HTML from the helper.
We'll be using a simple express app with some handlebars views for the setup and we'll just quickly walk through using handlebars with Express.
Setting up Express with Handlebars
To install the necessary dependencies for this tutorial, just hit:npm install --save express handlebars express-handlebars handlebars-intl
Let's create the files and directories necessary for our simple express server and the handlebars templates:
touch app.js
mkdir views
mkdir views/layouts
touch views/layouts/main.handlebars
touch views/home.handlebars
Note that the file extension can be set by you, so let's have a look at our app.js file:
const express = require('express');
const exphbs = require('express-handlebars');
const Handlebars = require('handlebars');
const HandlebarsIntl = require('handlebars-intl');

var app = express();

var hbs = exphbs.create({extname: '.handlebars'});
app.engine(hbs.extname, hbs.engine);
app.set('view engine', hbs.extname);

// Helpers will go here

app.get('/', function (req, res) {
  var data = {
    myWord: 'Wombat',
    reallyImportantNumber: 65356
  };
  res.render('home', data);
});

app.listen(3000);
Let's to through what that file does:
- It includes handlebars-intl, an i18n library and part of format.js.
- It sets the
extnameto.handlebars(you could also use.hbshere) - It renders a view when the
/route is accessed, with some data attached.
The view files are the following:
views/layout/main.handlebars
<!DOCTYPE html>
<html>
<head>
  <meta charset="utf-8">
  <title>Example App</title>
</head>
<body>
  {{{body}}}
</body>
</html>
views/home.handlebars
<h1>Example App: Home</h1>
Writing a Custom Handlebars Helper
Writing your own Handlebars helper function isn't a very difficult thing. You just need to look up how the helpers for the engine/implementation you're using are defined, since that's a detail that's very much up to the author of the library you're using.For example the handlebars package on NPM supports the simple syntax:
somewhere in app.js:
Handlebars.registerHelper('reverseWord', function(value){
  var reversedWord = value.split("").reverse().join("");
  return reveredWord;
});
and afterwards the custom function is available in your views like this:
file: home.handlebars
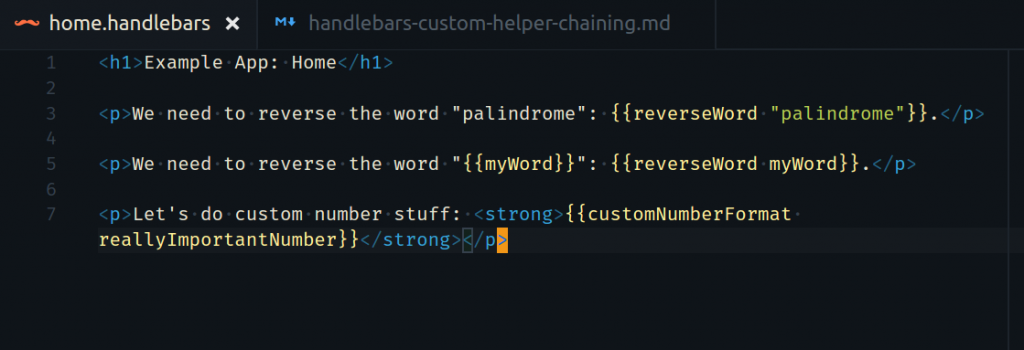
<p>We need to reverse the word "palindrome": {{reverseWord "palindrome"}}.</p>
and when you run node app.js and access localhost:3000 it should print:
We need to reverse the word "palindrome": emordnilap.
Obviously that also works with the data passed to the view with your data object:
<p>We need to reverse the word "{{myWord}}": {{reverseWord myWord}}.</p>
Chaining Handlebars Helpers
If you purely want to chain helpers, you might want to have a look at the artilces I have listed below, if you want to just use an existing helper, for example from handlebars-intl in your own helper, skip to the next headline.Return HTML from Handlebars helper
So originally the use case I was approached about was the following. There were some conditionals and nested objects, but in the end it boiled down to having a custom helper that took care of that (based on a country selection) and then should also make use of theformatNumber helper:
Handlebars.registerHelper('customNumberFormat', function(value){

  var context = {
      value: value
  };

  var intlData = {
      locales: ['en-US'],
  };

  // use the formatNumber helper from handlebars-intl
  var template = Handlebars.compile('{{formatNumber value}} is the final result!');

  var compiled = template(context, {
    data: {intl: intlData}
  });

  return compiled
});
Note that you don't always need to pass in intlData, it's only when you're formatting something in a certain way or you want to format something as it is a custom for a user in a country that's using your app.
Also before you use Handlebars.compile, you can conditionally set the string based on your requirements. Maybe you want to have a winner, loser or other graduations that are depending on your context.
Now we can use that helper in our home.handlebars like this:
<p>Let's do custom number stuff: <strong>{{customNumberFormat reallyImportantNumber}}</strong></p>
You can also include calculations (like VAT) or shopping cart like thing and still pretty-print the number.