OCR in GO for EFT screenshots (part 1)
In the beginning, there was an idea, that we would catalogue the names of our adversaries, that we triumphed over in Escape from Tarkov.
We shot and looted, carried out dogtags, rarely but eagerly and kept our little kill journal on the shared website.
Then we broke our shared deployment process and my commit permissions were revoked, so my dog tags piled up in my inventory. At the end of the wipe (season) I had killed about 750 PMCs and the process of keeping a log grew tedious.
A new solution needed birthing. I thought to myself:
How hard can OCR / image recognition really be?
Well. There were some unexpected pitfalls on the way.
Finding an OCR library
Turns out there's a few OCR libraries out there and technically some of those are overkill for our purpose, since a lot of them are trained towards understanding languages and words of a language. We just need strings extracted from a screenshot, which will be things like SexHaver420 or IfakEnjoyer and abbreviations like USEC, so we're not in need of actually understanding language. We just have a picture that we need to turn into machine readable strings.
I felt like GO would be a good choice, because I can easily build a web app to upload images and either get back a set of strings or even through the github api open automatic pull requests with the data extracted, so I found a go ocr server that I could dump images into and see how well it would do (ran well from the included dockerfile).
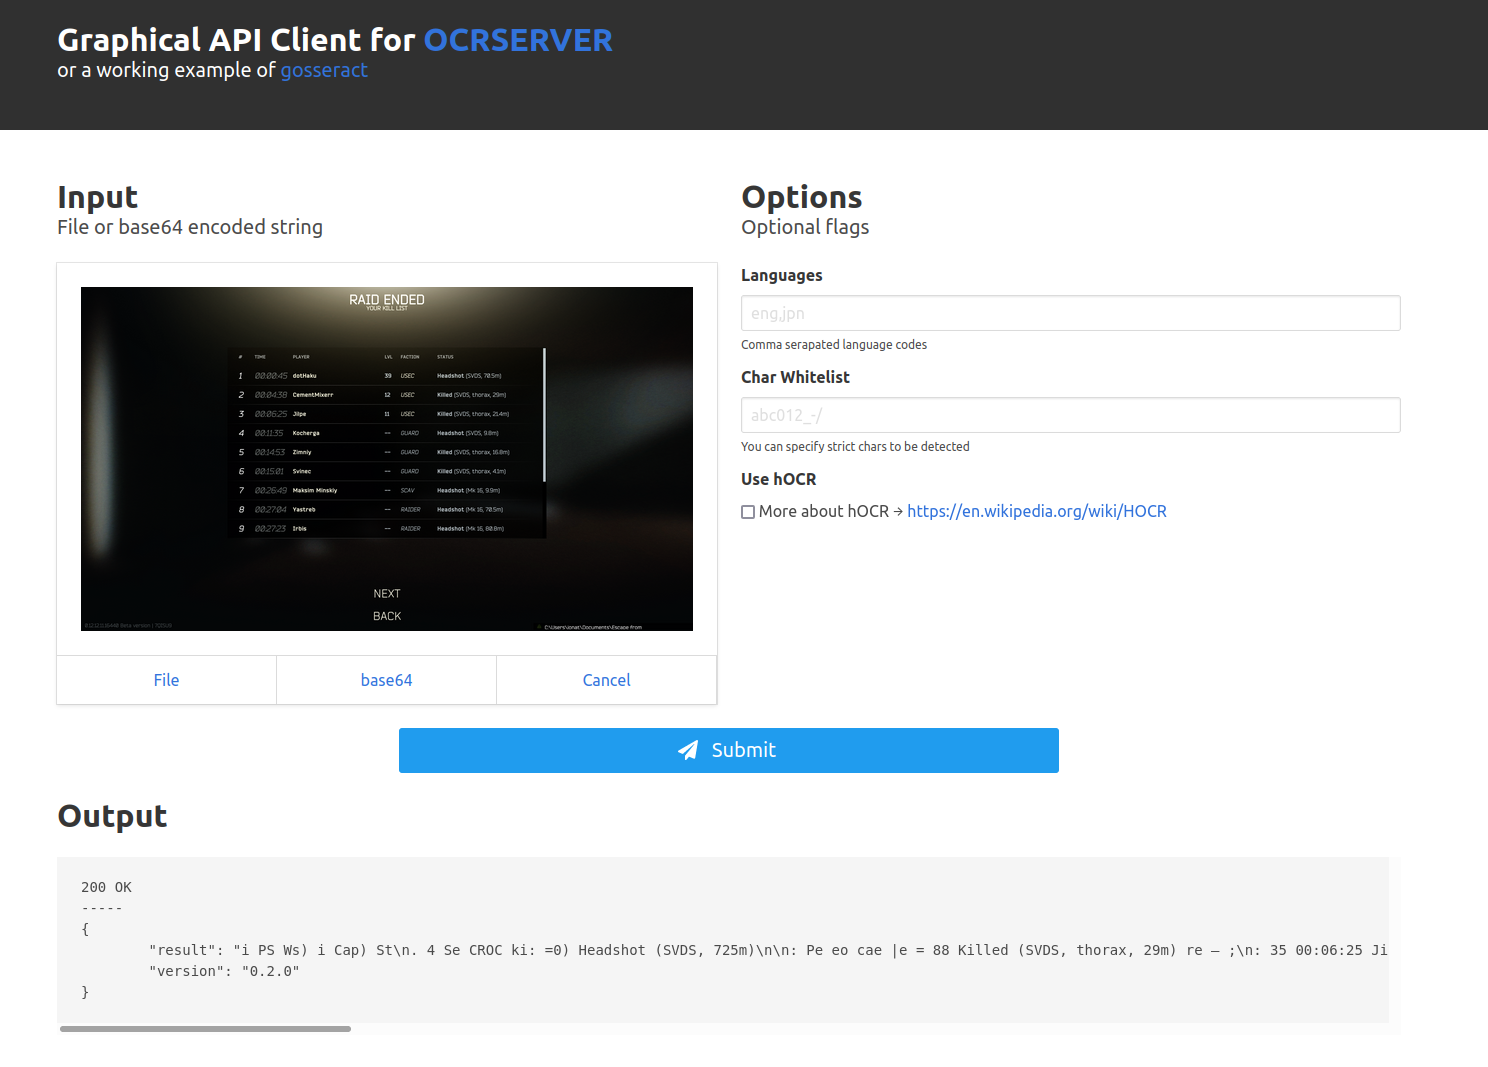
After cloning the git repo you can use docker to spin up a local webserver with which you can upload images and test how much of a text the gosseract OCR library can detect (which you get as a JSON response).

Now we're getting stuff like this from our unedited screenshot:
"i PS Ws) i Cap) St\n. 4 Se CROC ki: =0) Headshot (SVDS, 725m)"
Cleaning up the input image
When I uploaded my first screenshot, it was all a mess, since the screenshots have a lot of additional information we don't need. Turns out lots of OCR is done on images with a white background (we don't have that) and with very high contrast fonts (we don't have that), we also had lots of empty space that didn't actually contain the text we wanted, so I decided to try some image processing with Imagemagick/Graphicsmagick).
We're going to:
- crop the image
- invert the colours
- increase the contrast
and see how that goes
sudo apt-get install libgraphicsmagick1-dev
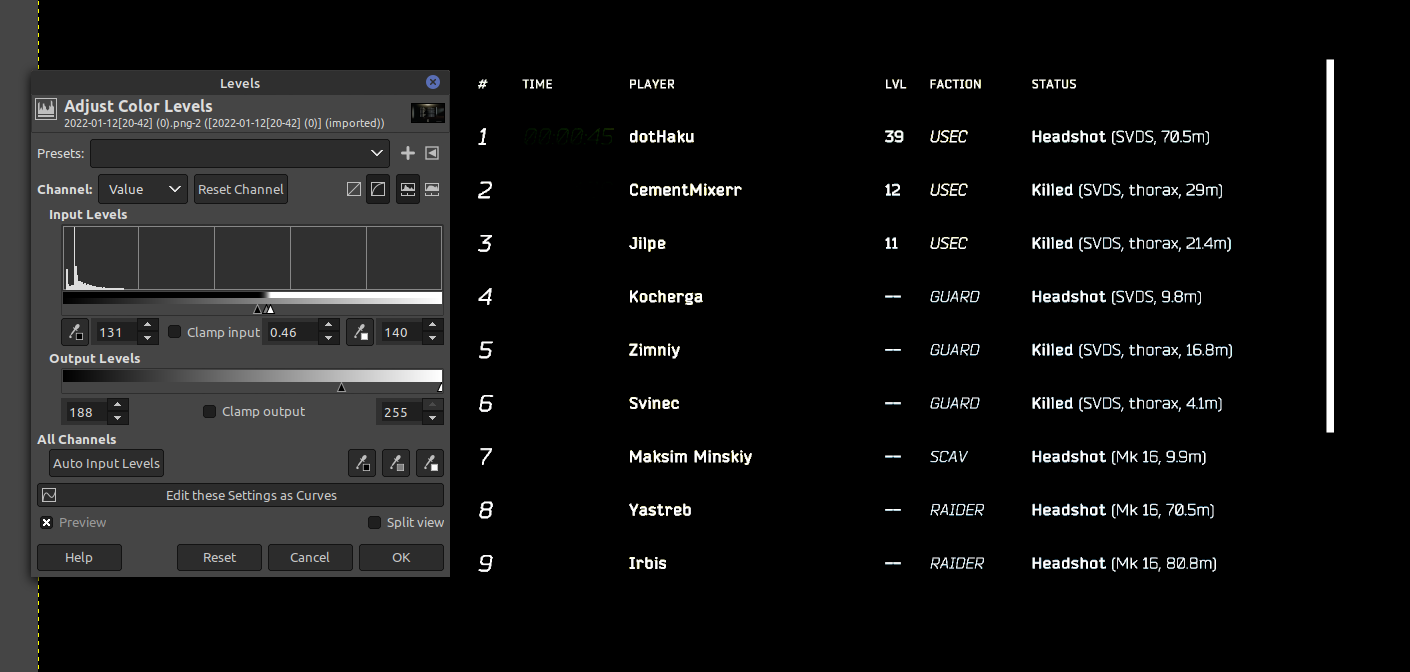
There's usually great amounts of examples when using any of those utilities and lots of libraries for any backend runtime. I knew I needed something like this GIMP/Photoshop feature (Levels) to increase the contrast of the screenshot.

The official documentation of the graphicsmagic CLI states:
>  -level <black_point>{,<gamma>}{,<white_point>}{%}

	adjust the level of image contrast

	Give one, two or three values delimited with commas: black-point, gamma, white-point (e.g. 10,1.0,250 or 2%,0.5,98%). adjust the level of image contrast
Give one, two or three values delimited with commas: black-point, gamma, white-point (e.g. 10,1.0,250 or 2%,0.5,98%).
Great, so I could just set black and white points in percentages? That sounds like a convenient option!
Turns out the GO library doesn't let you do that:
func (mw *MagickWand) LevelImage(blackPoint, gamma, whitePoint float64) error
This one just wants three floating point numbers between 0 and the maximum quantum value. Turns out the maximum quantum value is determined by what bit-depth you image has and it is not (necessarily) a number between 0 and 255 and the function to figure out the max quantum value is still on the TODO of the library last released in 2017 ¯\_(ツ)_/¯.
Anyways, for my testing I just assumed a max quantum value of 65356, which worked out much better:
// make image black/white
mw.SetImageColorspace(gmagick.COLORSPACE_GRAY)
// invert
mw.NegateImage(false)
// increase contrast
assumed_quantum_max := 65356.0
blackPoint := assumed_quantum_max / 2.3
gamma := .2
whitePoint := assumed_quantum_max / .5
mw.LevelImage(blackPoint, gamma, whitePoint)
This code will invert (negate) and level the image and make the lowest half (ish) black, make most of the greys black and make everything else white.
This image performs much better and with some additional cropping we actually get a decent output from our OCR server:
{
"result": "# TIME PLAYER LVL FACTION STATUS\n\n1 dotHaku 39 USEC Headshat (SVOS, 7@.5m)\n\n2 CementMixerr 12. -USEC Killed (SVDS, thorax, 29m)\n3 Jilpe 11: USEC Killed (SVDS, thorax, 214m)\n4 Kocherga -- GUARD Headshat (SVDS, 9.8m)\n\n5 Zimniy -- GUARD Killed (SVDOS, thorax, 16.8m)\n6 Svinec -- GUARD Killed (SVDS, thorax, 4.1m)\n7 Maksim Minskiy --  SCAV Headshot (Mk 16, 99m)\n\n8 Yastreb -- RAIDER Headshot (Mk 16, 785m)",
    "version": "0.2.0"
}
which is a lot better than the earlier output, but it still could do with some improvement, since I'm pretty sure it's supposed to be Headshot instead of Headshat.
For the cropping we kind of just vaguely measured the x and y points in GIMP and it works out for my resolution screenshots (2560 x 1440).
mw.CropImage(1300, 800, 600, 200)
The Result
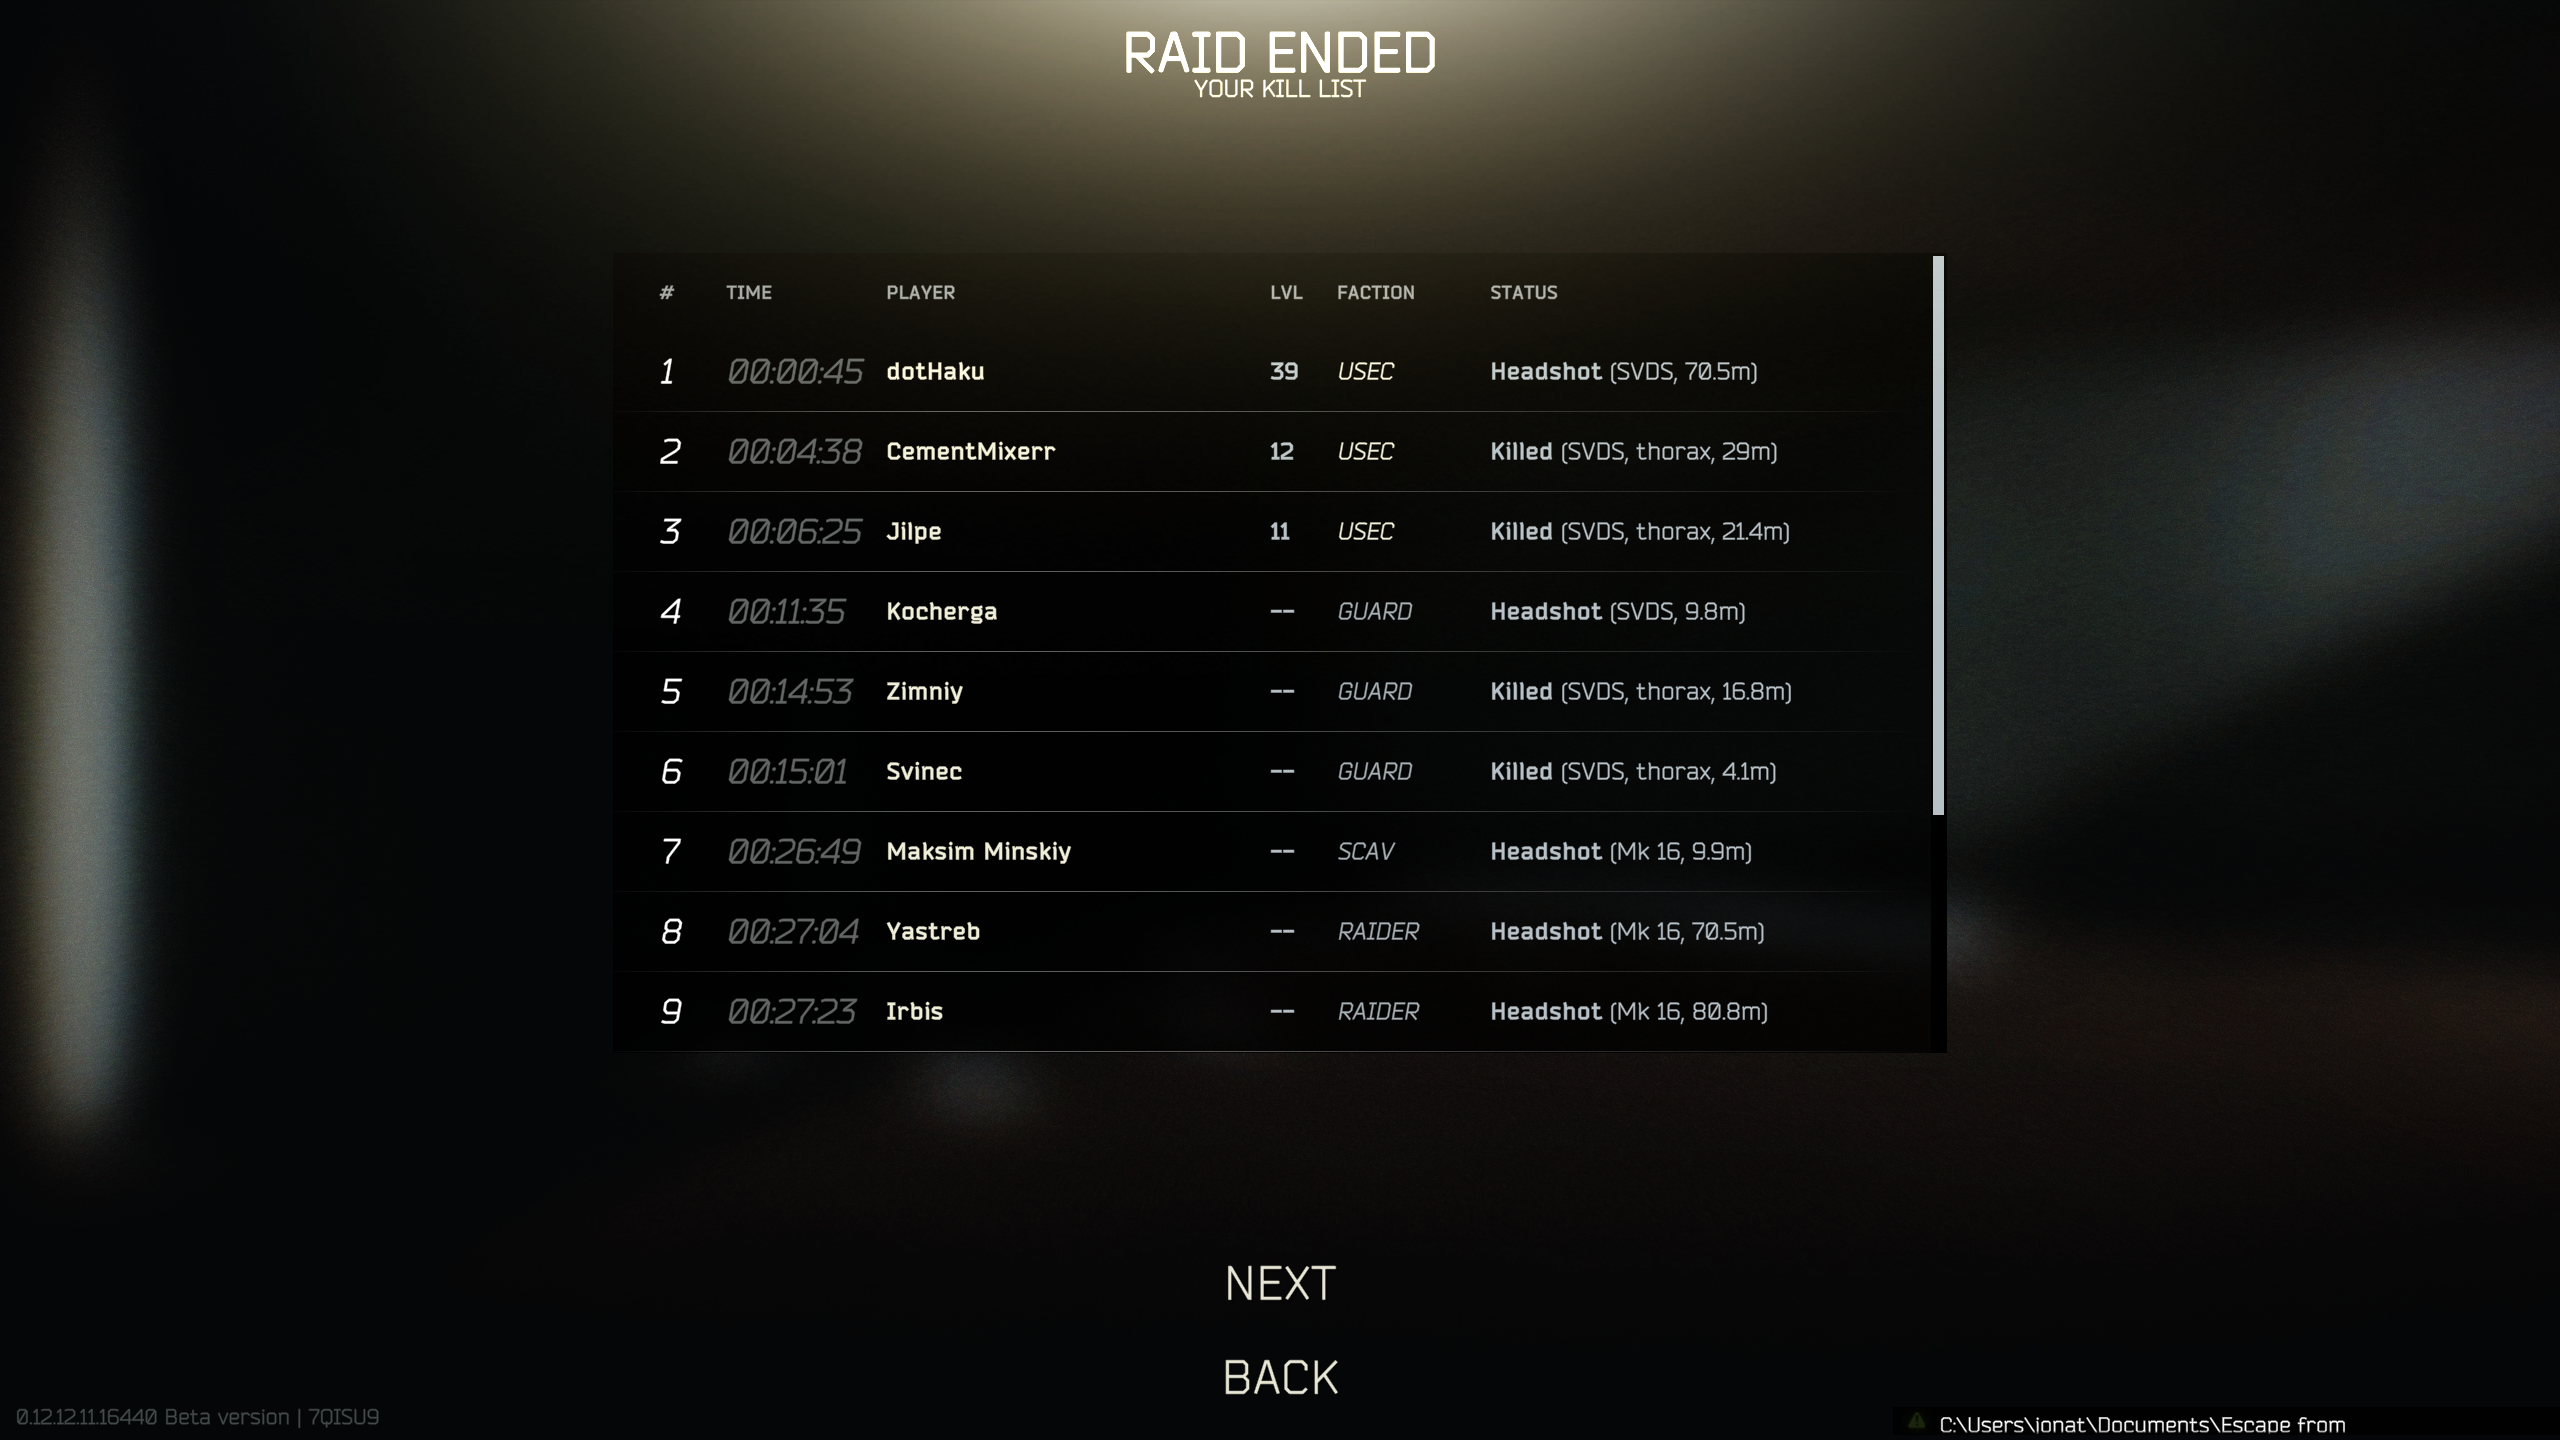
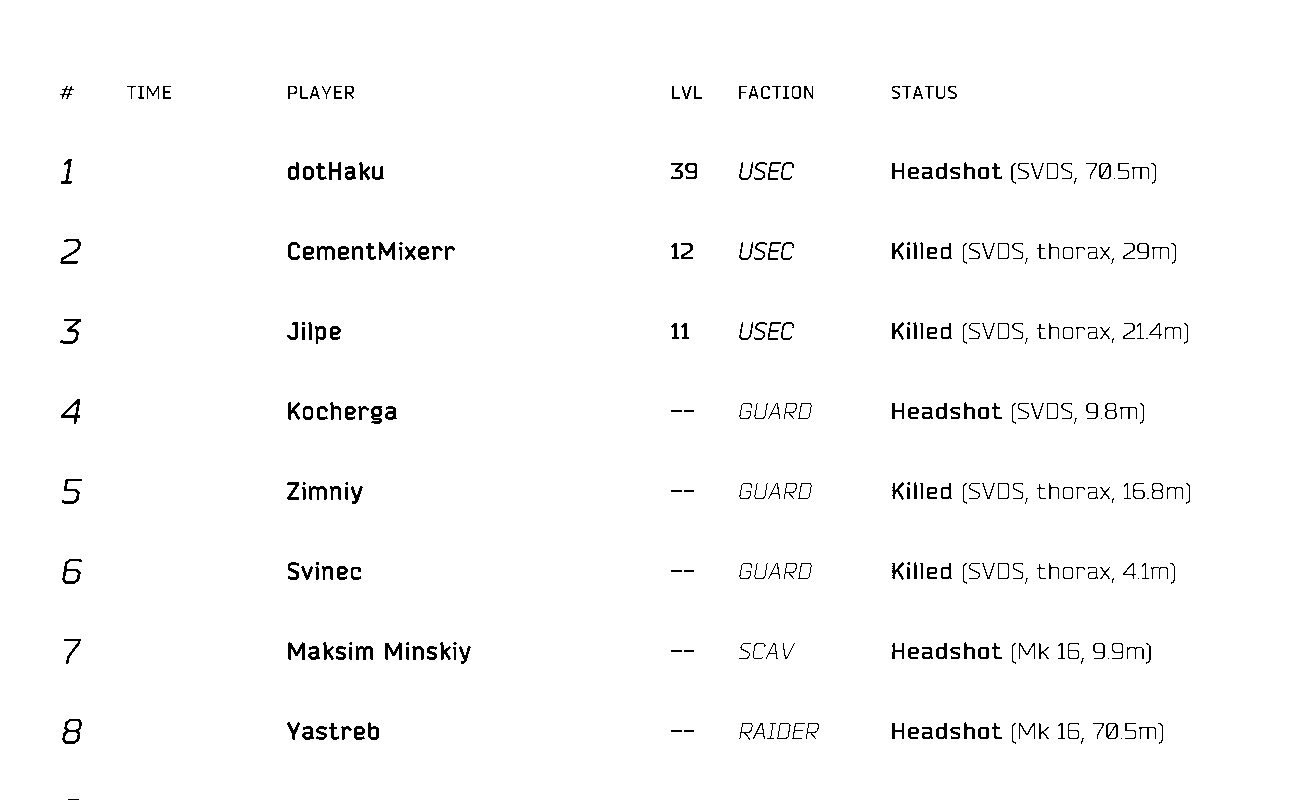
So far we've made progress on kind of optimising an image from:

to:

which is pretty cool.
If you want to try it yourself, this would be the full code for now:
go.mod
module doggy-tagger

go 1.18

require github.com/gographics/gmagick v1.0.0
main.go
package main

import (
    "flag"
    "github.com/gographics/gmagick"
)

func cropAndLevel(sourceImage string, outputImage string) {
    mw := gmagick.NewMagickWand()
    defer mw.Destroy()
    mw.ReadImage(sourceImage)

    // crop
    mw.CropImage(1300, 800, 600, 200)

    // make image black/white
    mw.SetImageColorspace(gmagick.COLORSPACE_GRAY)
    // invert
    mw.NegateImage(false)

    // increase contrast
    assumed_quantum_max := 65356.0
    blackPoint := assumed_quantum_max / 2.3
    gamma := .2
    whitePoint := assumed_quantum_max / .5
    mw.LevelImage(blackPoint, gamma, whitePoint)

    mw.WriteImage(outputImage)
}

func main() {
    f := flag.String("from", ", "original image file ...")
    t := flag.String("to", ", "target file ...")
    flag.Parse()

    gmagick.Initialize()
    defer gmagick.Terminate()

    cropAndLevel(*f, *t)
}
and can be run by: go run . -from example-in.png -to example-out.png
Now, the next step will be to turn see how well we can tune this and gosseract to consistently pass a set of example images and later on to automate bulk-processing end of raid screenshots and just spitting out lists of names. Let's see when we get to it, but so far it's been a lot of fun!