Vue.js API Client / Single Page App (SPA) Tutorial
This post assumes you have some kind of API backed by some data that you want the user to be able to filter, either by category, by tag or other things of your liking.
You can find part 1 of this tutorial, that we'll be referring to here: Building a Simple Searchable API with Express (Backend).
Let's get started in building a simple single page app with Vue.js to actually show a frontend for our super cool web project!
Firstly we'll make use of vue-cli to provide us with a meaningful boilerplate.
Setting up Vue with Vue-Cli
In order to make use of the boilerplate we need to install vue-cli globally:npm install -g vue-cli
after that, let's change into our project directory and create a fresh webpack project:
cd projects
mkdir store-locator
cd store-locator
vue init webpack vue-client
Now vue-cli will ask you a couple of questions, I suggest not only including the runtime and I've said no to all tests and the ESlint config for now.
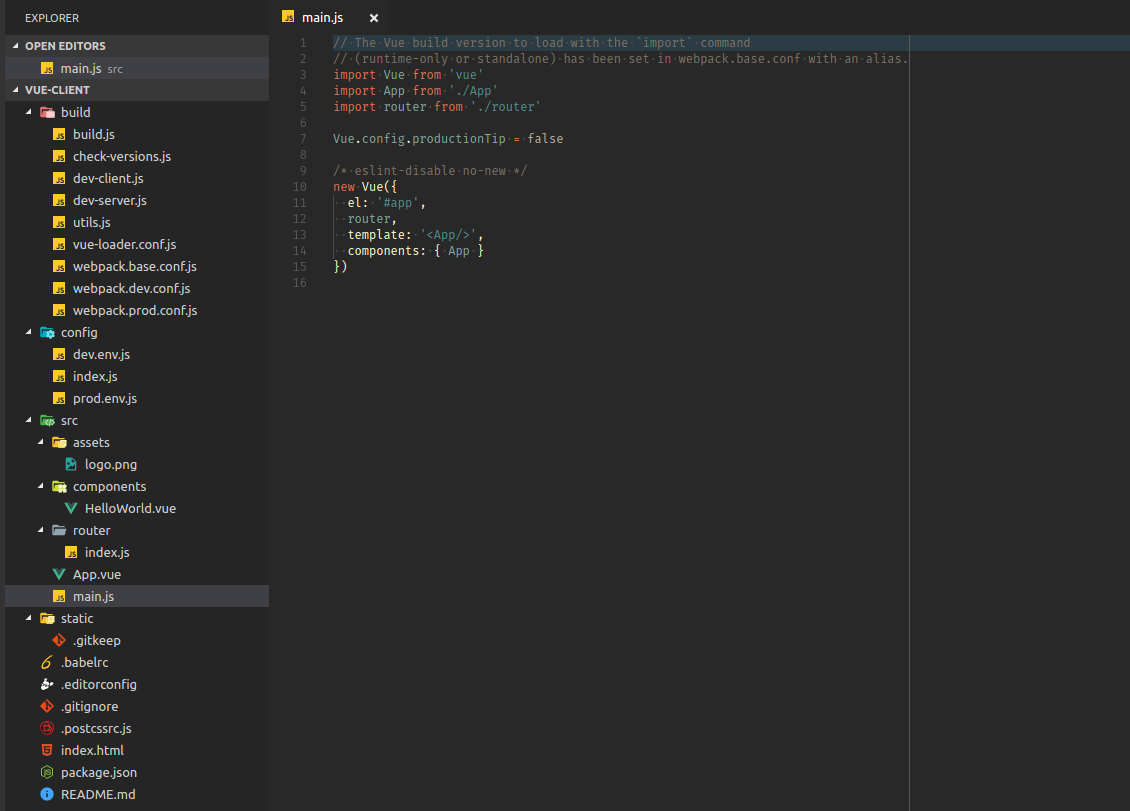
Let's change into the folder and open our favourite source code editor (like atom or vscode), you should now see something like this:
Perfect! Let's see if it all works as expected, if we now run
npm install
npm run dev
it should start a dev server that automatically opens in your default browser.
The page available at http://localhost:8080 should show the vue logo and "getting started" screen.
Let's clean up a bit, because to be honest, we don't really want to promote Vue.js, ok maybe on the credits page, but by default we really really want people to be able to find the supernatural store of their choice!
Let's go ahead and delete the some of the default content in ./src/App.vue (the logo line) and let's also delete the line that includes HelloWorld.vue.
Creating your Index Route
By default the webpack template comes with./src/router/index.js.
It should reference a component called HelloWorld.vue, but we don't want that. We want a component called Home.
import Vue from 'vue';
import Router from 'vue-router';
import Home from '@/components/Home';

Vue.use(Router)

export default new Router({
  routes: [
    {
      path: '/',
      name: 'Home',
      component: Home
    }
  ]
})
Alright, now if you save your adjusted router you should see the following error message in your terminal (keep that thing open at all times, it's your friend):
 ERROR  Failed to compile with 1 errors 12:52:36 AM

This dependency was not found:

* @/components/Home in ./src/router/index.js

To install it, you can run: npm install --save @/components/Home
What our friend is trying to tell us is:
Jonathan, you fucked up, you need to actually create a component called
Home
Ok, let's do that:
touch src/components/Home.vue
Now webpack will successfully build again, but all we have is an empty page.
Let's open up Home.vue and get a template in it:
<template>
  <div class="home">
    <h1>Home</h1>
  </div>
</template>
Going back to your browser you should see that Home is displayed on the page gorgeously.
Connecting Vue (2) to an API with axios
Vue.js doesn't come with any preferred HTTP client and you can use anything from a vanilla XMLHttpRequest over the relatively new fetch API or other JavaScript frameworks. In this tutorial we'll use axios, which is pretty cool, but still flexible for our advanced filtering use case.Let's start by installing axios:
npm install --save axios
Now we can start building a basic component and test if the connection works with httpbin or a similar service in Home.vue:
<template>
  <div class="home">
    <h1>Home</h1>
  </div>
</template>

<script>
import axios from 'axios';

export default {
  name: 'Home',
  created: function(){
    console.log('Home::created'); // useful for understanding the lifecycle

    axios.get('https://httpbin.org/user-agent')
    .then(function (response) {
      // print entire response
      console.log(response);

      // print a specific part of response
      console.log(response.data['user-agent']);

    })
    .catch(function (error) {
      // if an error occurs, print that error
      console.log(error);
    });
  }
}
</script>
Now the output in your browsers development console should look a bit like this:
Home::created
Home.vue:15
Object { data: {…}, status: 200, statusText: "OK", headers: {…}, config: {…}, request: XMLHttpRequest }
Home.vue:20
Mozilla/5.0 (X11; Linux x86_64; rv:57.0) Gecko/20100101 Firefox/57.0
Home.vue:22
Actually it's not super intuitive showing that in the console, let's insert it into our template. Vue.js is pretty smart about handling both local and global state of apps, so let's make use of the data object / function (depending on context) when we get the API response and insert it into the template.
Here's my adjusted Home.vue component including comments:
<template>
  <div class="home">
    <h1>Home</h1>
    <pre>
      {{userAgent}}
    </pre>
  </div>
</template>

<script>
import axios from 'axios';

export default {
  name: 'Home',
  data: function(){
    return {
      userAgent: ''
    }
  },
  created: function(){
    console.log('Home::created'); // useful for understanding the lifecycle

    // usually `this` works in Vue components to set data to the state and re-render the template
    // saving `this` as `self` makes sure we still have access to all our component functions and state, even inside the
    var self = this;

    axios.get('https://httpbin.org/user-agent')
    .then(function (response) {
      // print entire response
      console.log(response);

      // print a specific part of response
      console.log(response.data['user-agent']);

      // change the local state, "save" to your component
      self.userAgent = response.data['user-agent'];
    })
    .catch(function (error) {
      // if an error occurs, print that error
      console.log(error);
    });
  }
}
</script>
it should now display your browsers useragent inside your browser window.
Connecting Vue.js to your own Backend
Let's go back to the API we built in part 1 of this tutorial and start it up, it should be running on port 3000 by default. Now let's try to get the list of imaginary stores out of it with our cleaned upHome.vue single file component by changing the axios.get line to:
axios.get('http://localhost:3000/api/stores')
If you try to access your own API at port 3000 you should get the following error in the different browsers:
Firefox:
Cross-Origin Request Blocked: The Same Origin Policy disallows reading the remote resource at http://localhost:3000/api/stores. (Reason: CORS header ‘Access-Control-Allow-Origin’ missing).
Chrome:
XMLHttpRequest cannot load http://localhost:3000/api/stores. No 'Access-Control-Allow-Origin' header is present on the requested resource. Origin 'http://localhost:8080' is therefore not allowed access.
The reason for this is that we have not yet enabled cors in express, which luckily is available as a simple module on npm. Let's go back to our API server, install cors:
# change into server directory
npm install --save cors
and edit our server.js files top to:
const _ = require('lodash');
const express = require('express');
const app = express();
const cors = require('cors');

app.use(cors());
Phew, we dodged the bullet on the CORS issue. Oh, before I forget:
What does the real AJAX developer say when asked if he knows about Cross Origin Resource Sharing? CORS I do!
Template rendering with V-For
Ok, no rest for the wicked, let's keep typing, we need to get those users happy!<template>
<div class="home">
<h1>Home</h1>
<div class="stores">
<div class="store" v-for="store in stores">
<h2>{{store.name}}</h2>
<img :src="store.imageURL">
</div>
</div>
</div>
</template>
<script>
import axios from 'axios';
export default {
name: 'Home',
data: function(){
return {
stores: []
}
},
created: function(){
console.log('Home::created'); // useful for understanding the lifecycle
// usually `this` works in Vue components to set data to the state and re-render the template
// saving `this` as `self` makes sure we still have access to all our component functions and state, even inside the
var self = this;
axios.get('http://localhost:3000/api/stores')
.then(function (response) {
self.stores = response.data;
})
.catch(function (error) {
// if an error occurs, print that error
console.log(error);
});
}
}
</script>
<style>
img {
max-width: 50vw;
}
</style>
Most of that code should look pretty familiar by now. Key things that have changed:
datanow hasstoreswhich is an empty array that will be populated by the API response, when that happens it will automatically re-render the viewv-forin the template part makes sure we repeat an element with different content from the array received from our precious API
The result should now resemble something like this in your browser:
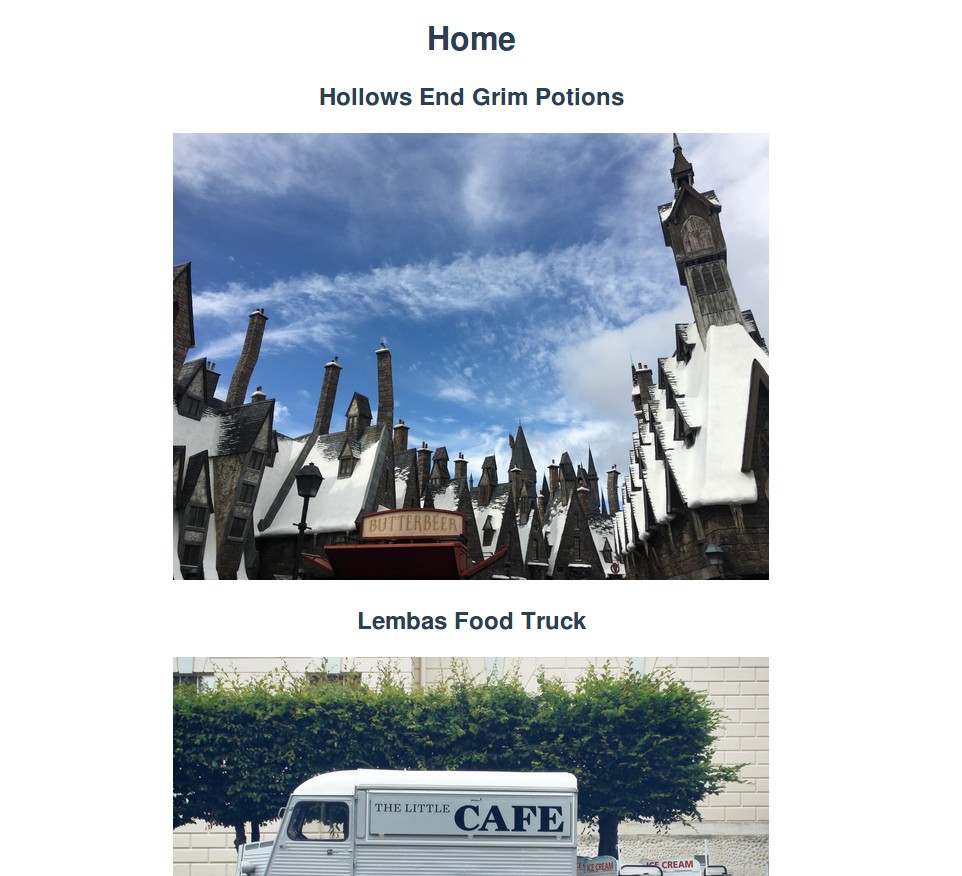
Pretty cool, eh? Well, not entirely. We need users to be able to filter if a store is not safe for work or at least filter them by location. Or both.
Implementing Forms and Filtering with Vue.js 2
Now if you think: Well, this will do, think again! We still need to implement some form elements that allows users to immediately filter results and we don't want any annoying page reloads in the way of our users success. When a checkbox gets ticked, we want to update the content with a fresh API call!When we click the checkbox, we need to re-query the API and replace the this.stores array.
Note: When you have a lot of data in memory, it might be okay to just filter what you have already.
Let's look at how we do that with Vue:
Add to the <template> part:
    <label for="checkbox">Exclude NSFW? ({{exclude_nsfw}})</label>
    <input type="checkbox" id="nsfw" v-on:click="filter" v-model="exclude_nsfw">
Add the following into the <script> part:
,
  methods: {
    filter: function(){
      var self = this;
      axios.get(
        'http://localhost:3000/api/stores',
        {
          params: {
            nsfw: self.exclude_nsfw
          }
        }
      )
      .then(function (response) {
        self.stores = response.data;
      })
      .catch(function (error) {
        // if an error occurs, print that error
        console.log(error);
      });
    }
  }
The important parts of that are the <input> form element that has a v-model attached which will update our data object and the v-on:click trigger that will run our filter function.
The filter function queries our API and passes the parameter nsfw to show the correct results according to the users preference.
This should give you something like the following result:


The results should switch about immediately without a page refresh. What we're missing now is to push the new URL to the browser so that all search result pages remain linkable.
We can use the history API_method) for that purpose.
Next steps
You'll need to watch every aspect of your data and create a form element in the shape you see fit.If you have a binary state, if it's either this or that, a checkbox will suffice. If you have a lot of states, like a number of countries of planets, you might want to consider a dropdown or an autocomplete search field.
When ever one of the user input values changes, you need to adjust your database query.
Summary
This is how to consume a an API with Vue and how to build some sort of interactive filterable page.If you found this helpful, please drop me a tweet or leave a comment!